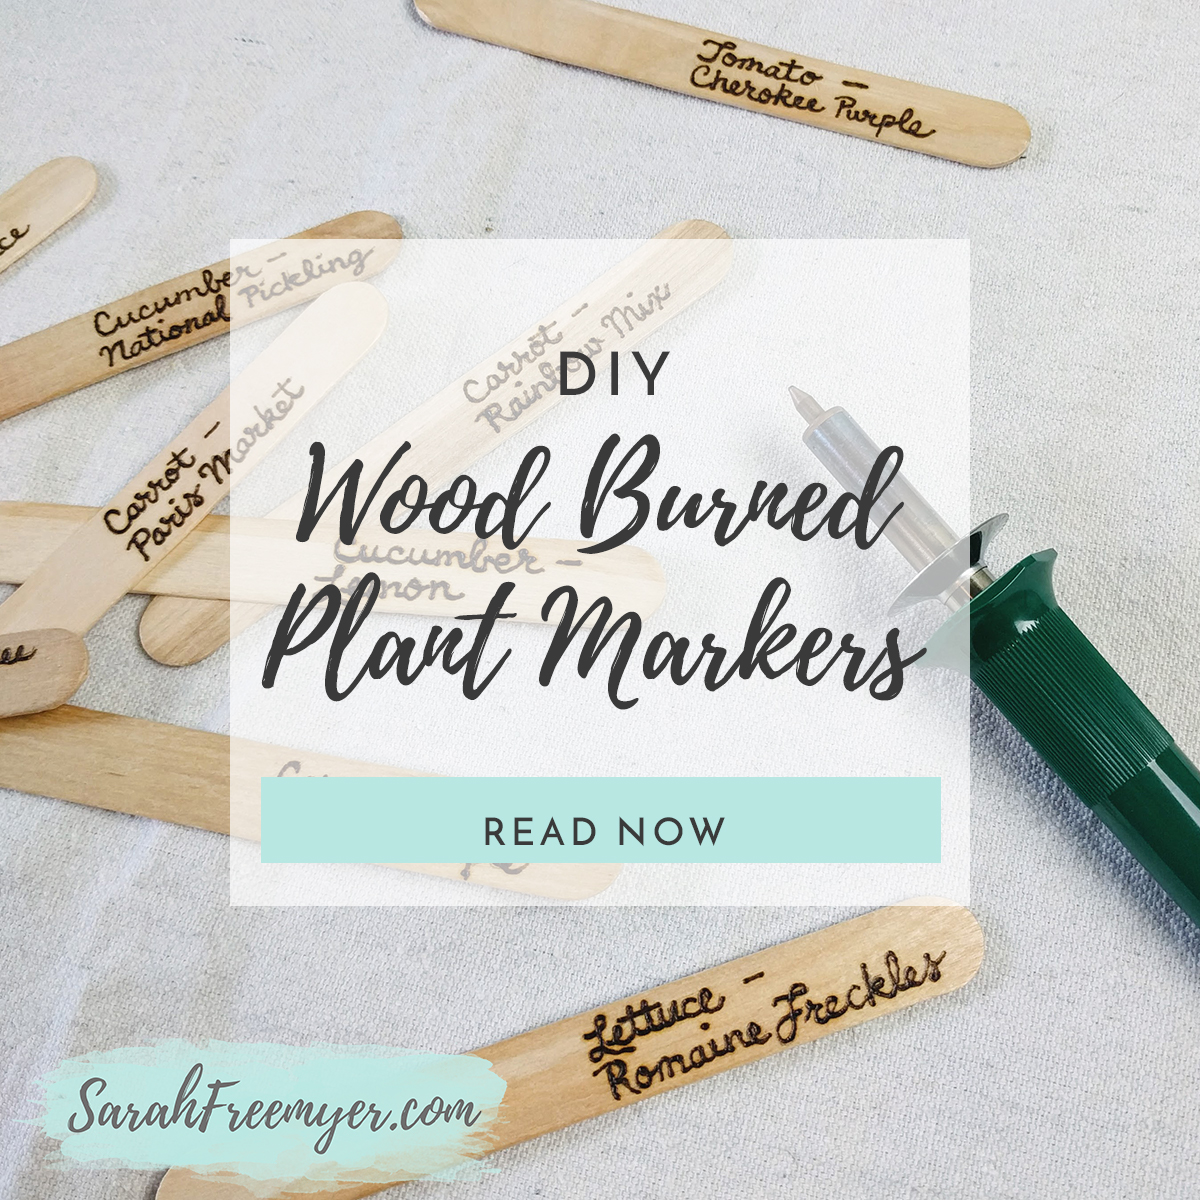
Once you plant seeds into the dirt it can be hard to remember what you planted and where. You might also want to show your houseplants some love by giving them a name tag. Here’s a quick and easy DIY to make wood burned plant markers.
Supplies You Will Need:
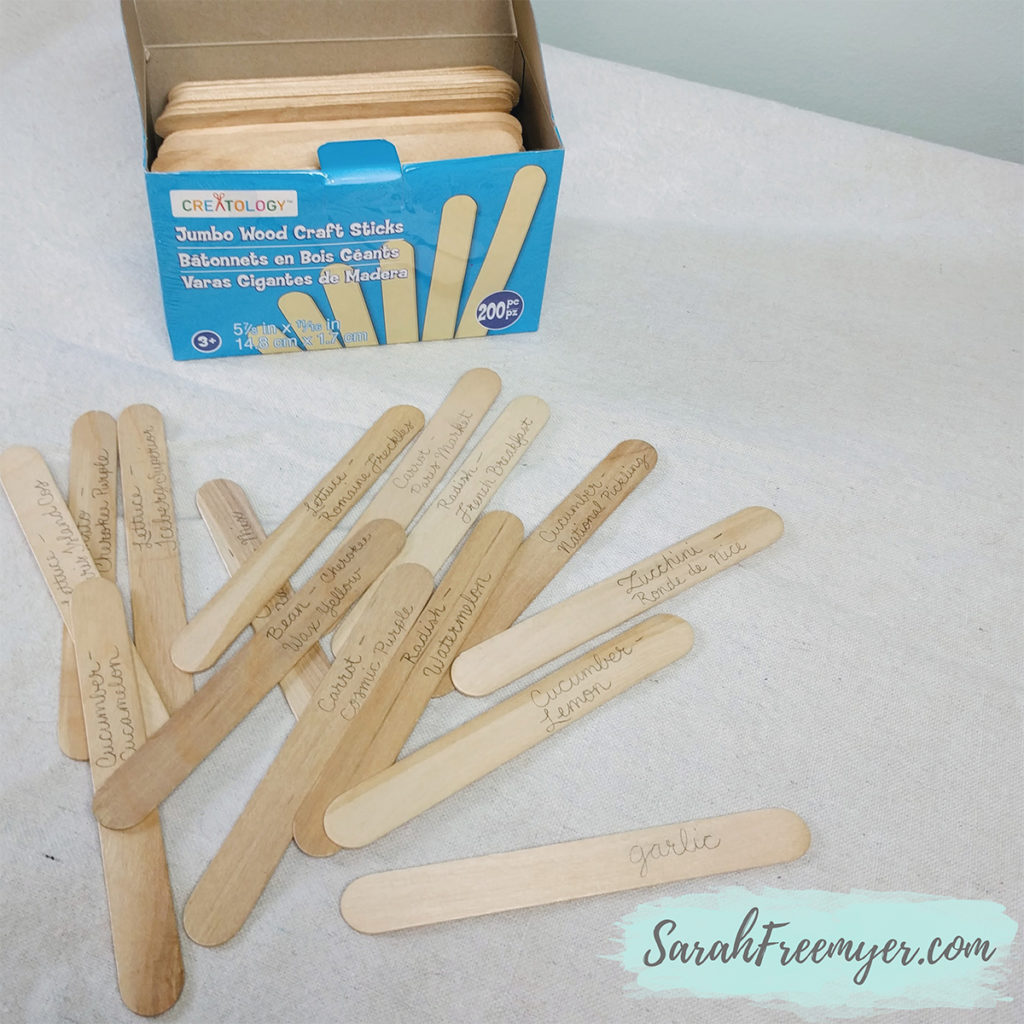
- Wood burning tool
- Craft sticks
- Pencil
Getting Started:
Using your pencil, sketch the name onto the craft stick. This can be anything you want, whether you use the plant’s scientific name, common name, or if you’ve given your plant a name like “Charlotte”. These plant markers are easy and inexpensive to make, so go ahead and make one for every plant you have!
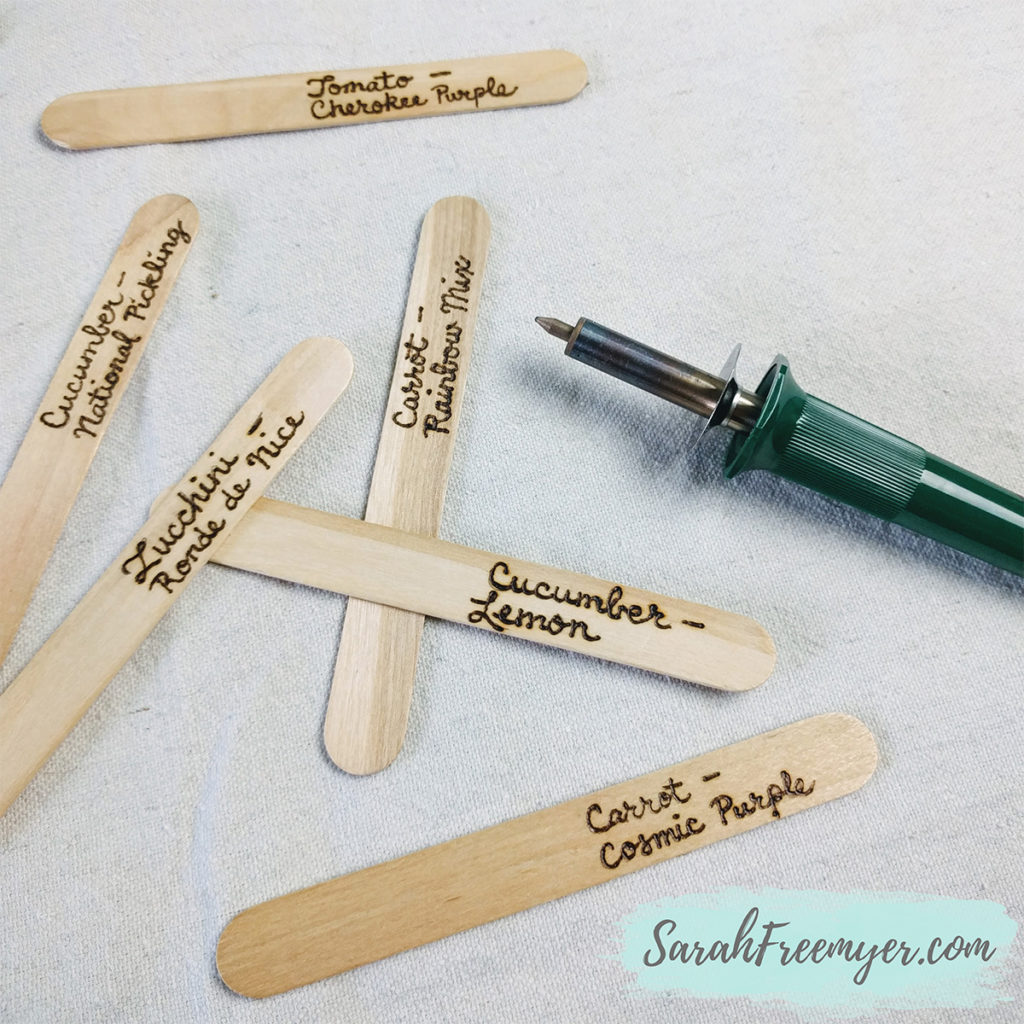
Plug in your wood burning tool and switch it on. Follow the manufacturer’s instructions to determine how long to wait for it to heat up and be ready to use. Be careful, the tool will get very hot! If it’s meant to be hot enough to burn wood then it will definitely burn your skin, so please use caution.
You may want to practice using the wood burning tool on some scrap wood or an extra craft stick. Experiment by applying different amounts of pressure and by moving the tool at a slower pace.
When you’re ready, carefully trace over the your pencil drawing on the craft stick. Try to move slowly and smoothly, without holding the wood burning tool in one spot for too long and without pressing down too hard. You can always go over your design again to even it out and touch-up any spots that you may not be happy with.
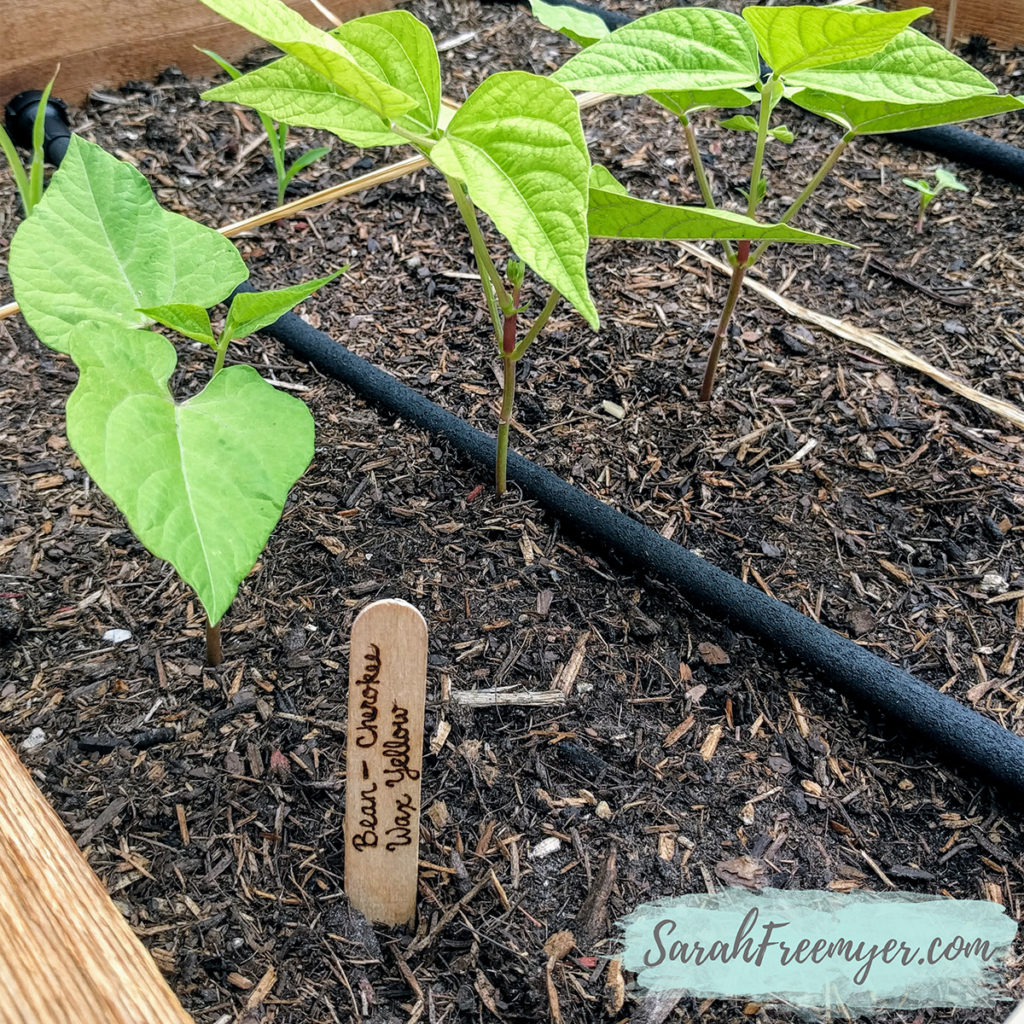
That’s all there is to it! Place it in a potted plant or out in the garden.
![]()